How to Perform a Reverse Video Search: The Complete 2025 Guide
A reverse video search is a powerful tool that allows you to trace the origin of a video, verify its authenticity, discover related content, or find high-quality versions online. Unlike reverse image searches, which are relatively simple, reverse video searches require extra steps because videos are larger files and often hosted on multiple platforms.
Whether you’re a content creator, journalist, or casual user, reverse video searches can help you track down original videos, verify suspicious content, or locate similar clips for research or entertainment purposes. In this guide, we’ll cover the most effective methods for conducting a reverse video search and provide practical tips to get the best results.
What is a Reverse Video Search?
A reverse video search uses a video or frames extracted from it to find information about its source, related content, or instances where the video has appeared online. This is especially useful for:
-
Finding the original source of a video clip.
-
Verifying authenticity and identifying fake or misleading videos.
-
Locating high-quality versions of videos or related clips.
-
Tracking usage across multiple platforms or social media.
Unlike keyword searches, which rely on text or metadata, reverse video searches rely on visual recognition. This makes it particularly effective for identifying deepfakes, viral clips, or footage with limited textual references.
Method 1: Using Google Image Search for Reverse Video Search
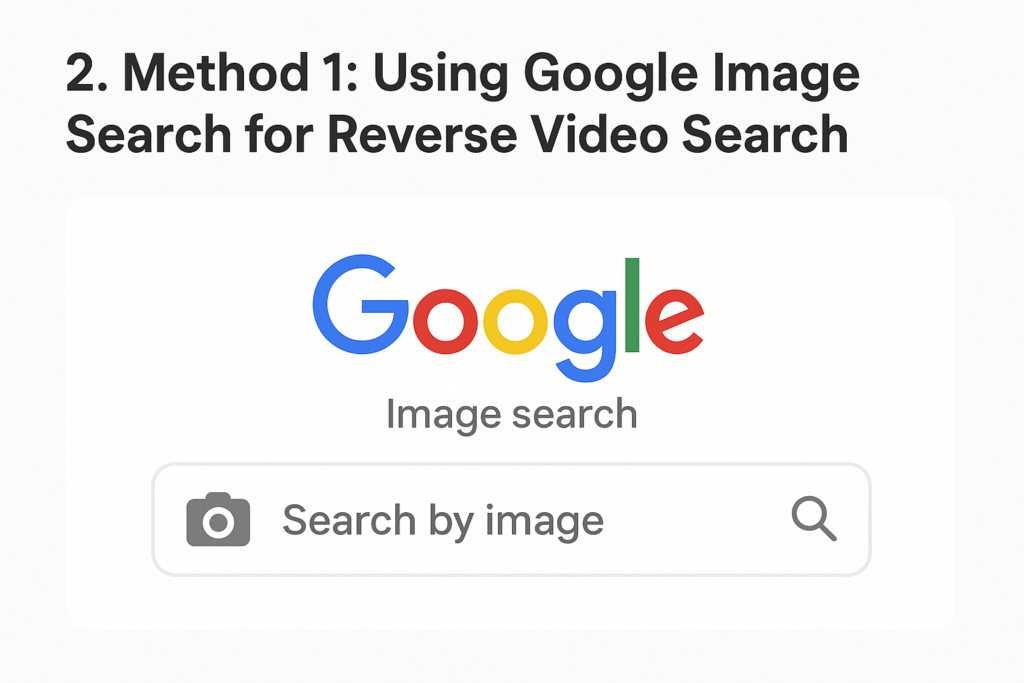
Google Images is a versatile tool for reverse searches, and it can be used for videos by extracting screenshots from key frames.
Step-by-Step Guide:
-
Capture a Frame from the Video
Pause the video at a distinctive moment and take a screenshot. Clear frames with unique features, such as text, landmarks, or people, yield better results.-
Windows: Use Snipping Tool or
PrtScn -
macOS: Press
Shift + Command + 4
-
-
Open Google Images
Visit Google Images. -
Upload Your Screenshot
Click the camera icon → Upload image → Select your captured frame. -
Review the Results
Google will show visually similar images and pages where the video frame has appeared. You may be able to locate the original video, related clips, or platforms hosting it.
Pro Tip: If a single frame doesn’t yield results, try multiple frames from different points in the video. Sometimes unique frames are easier to track than generic ones.
Method 2: Using TinEye for Reverse Video Search
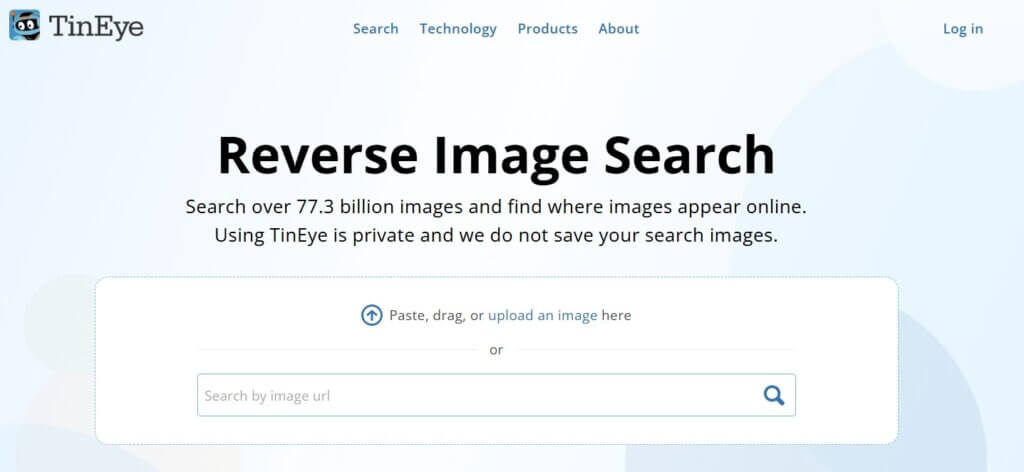
TinEye is a specialized reverse image search tool that can help find video origins.
Steps:
-
Capture a clear frame from the video.
-
Visit TinEye.
-
Click Upload, select your screenshot, and search.
-
Review the results to locate the video source or related content.
TinEye’s algorithm focuses on exact or similar visual matches, which can be particularly helpful if the video is older or less widely shared.
Method 3: Using Google Lens on Mobile
Google Lens uses AI to identify objects, landmarks, and visual elements in images, including video frames.
Steps:
-
Pause the video on your mobile device and take a screenshot.
-
Open Google Lens or use Google Photos and tap the Lens icon.
-
Upload the screenshot and allow the AI to analyze it.
-
Review results for similar images, websites, or the original video source.
Extra Tip: Google Lens often recognizes landmarks, logos, or text in videos, giving you additional context beyond what Google Images provides.
Method 4: Searching on YouTube
If your video is likely hosted on YouTube, their search tools can help locate it.
Steps:
-
Use Keywords from the Video – Look for names, phrases, or locations mentioned.
-
Search by Description – Keywords in video descriptions can help narrow down results.
-
Frame-by-Frame Analysis – Use YouTube’s playback controls to compare your video frame with possible matches.
-
Apply Filters – Filter by upload date, view count, or relevance to find the closest matches.
Pro Tip: YouTube’s algorithm often ranks videos with similar metadata, so combining keywords with visual frames increases your chances of success.
Best Practices for Reverse Video Search
-
Use High-Quality Frames: Blurry or generic frames may not yield results.
-
Select Key Moments: Frames with landmarks, text, or unique objects are most effective.
-
Try Multiple Tools: Google Images, TinEye, and Google Lens often produce different results.
-
Use Descriptive Keywords: When searching YouTube or other platforms, combine keywords with visuals.
-
Check Multiple Frames: Using several frames from different points in the video increases success rates.
Additional Tips
-
Verify Sources: Always cross-check the websites where the video appears. Some results may be misleading or repurposed content.
-
Use Free and Paid Tools: Some premium tools offer higher accuracy and bulk processing for reverse video searches.
-
Be Patient: Reverse video searches may take time, especially for obscure or viral videos with limited online presence.
Conclusion
Reverse video searches are essential for anyone looking to verify content, find video sources, or explore related media. By using tools like Google Images, TinEye, Google Lens, and YouTube, you can efficiently track the origin of videos using key frames. Always use clear screenshots, focus on unique moments, and try multiple methods for the best results.
For more guides on online tools, software tips, and digital solutions, visit our FastSoftwares blog section for the latest tutorials.