What is MoUSO Core Worker Process? How to Fix High CPU or Disk Usage
Are you having problems with a process in Task Manager that looks like an MoUSO Core Worker Process, like usocoreworker.exe, usoclient.exe, or USO Core Worker Process? You can read about what it is and how to fix the problem in this post from FastSoftware.
The MoUSO Core Worker Process, also known as MoUSOCoreWorker.exe, is a Microsoft process that helps the operating system manage the installation of Windows updates. The term “USO” in its name stands for “Update Session Orchestrator,” which pretty well sums up what it does.
The MoUSO Core Worker Process can be the cause if your machine keeps waking up from sleep. Furthermore, the process can lead to excessive disk or CPU utilization. If left unchecked, this might cause your computer to run much slower and could lead to more serious problems down the road.

What is Windows 10’s MoUSO Core Worker Process?
MoUSO is an Update Session Orchestrator (USO) that appears in the Task Manager every time Windows checks for updates. Depending on your power configuration, it might show up as either MoUsoCoreWorker.exe or USOCoreWorker.exe. They’re replacement programs for the wuauclt.exe command in Windows 10.
This procedure monitors the status of various updates as they go from notification to installation. This monitoring is usually done in the background and should not cause any problems during normal use.
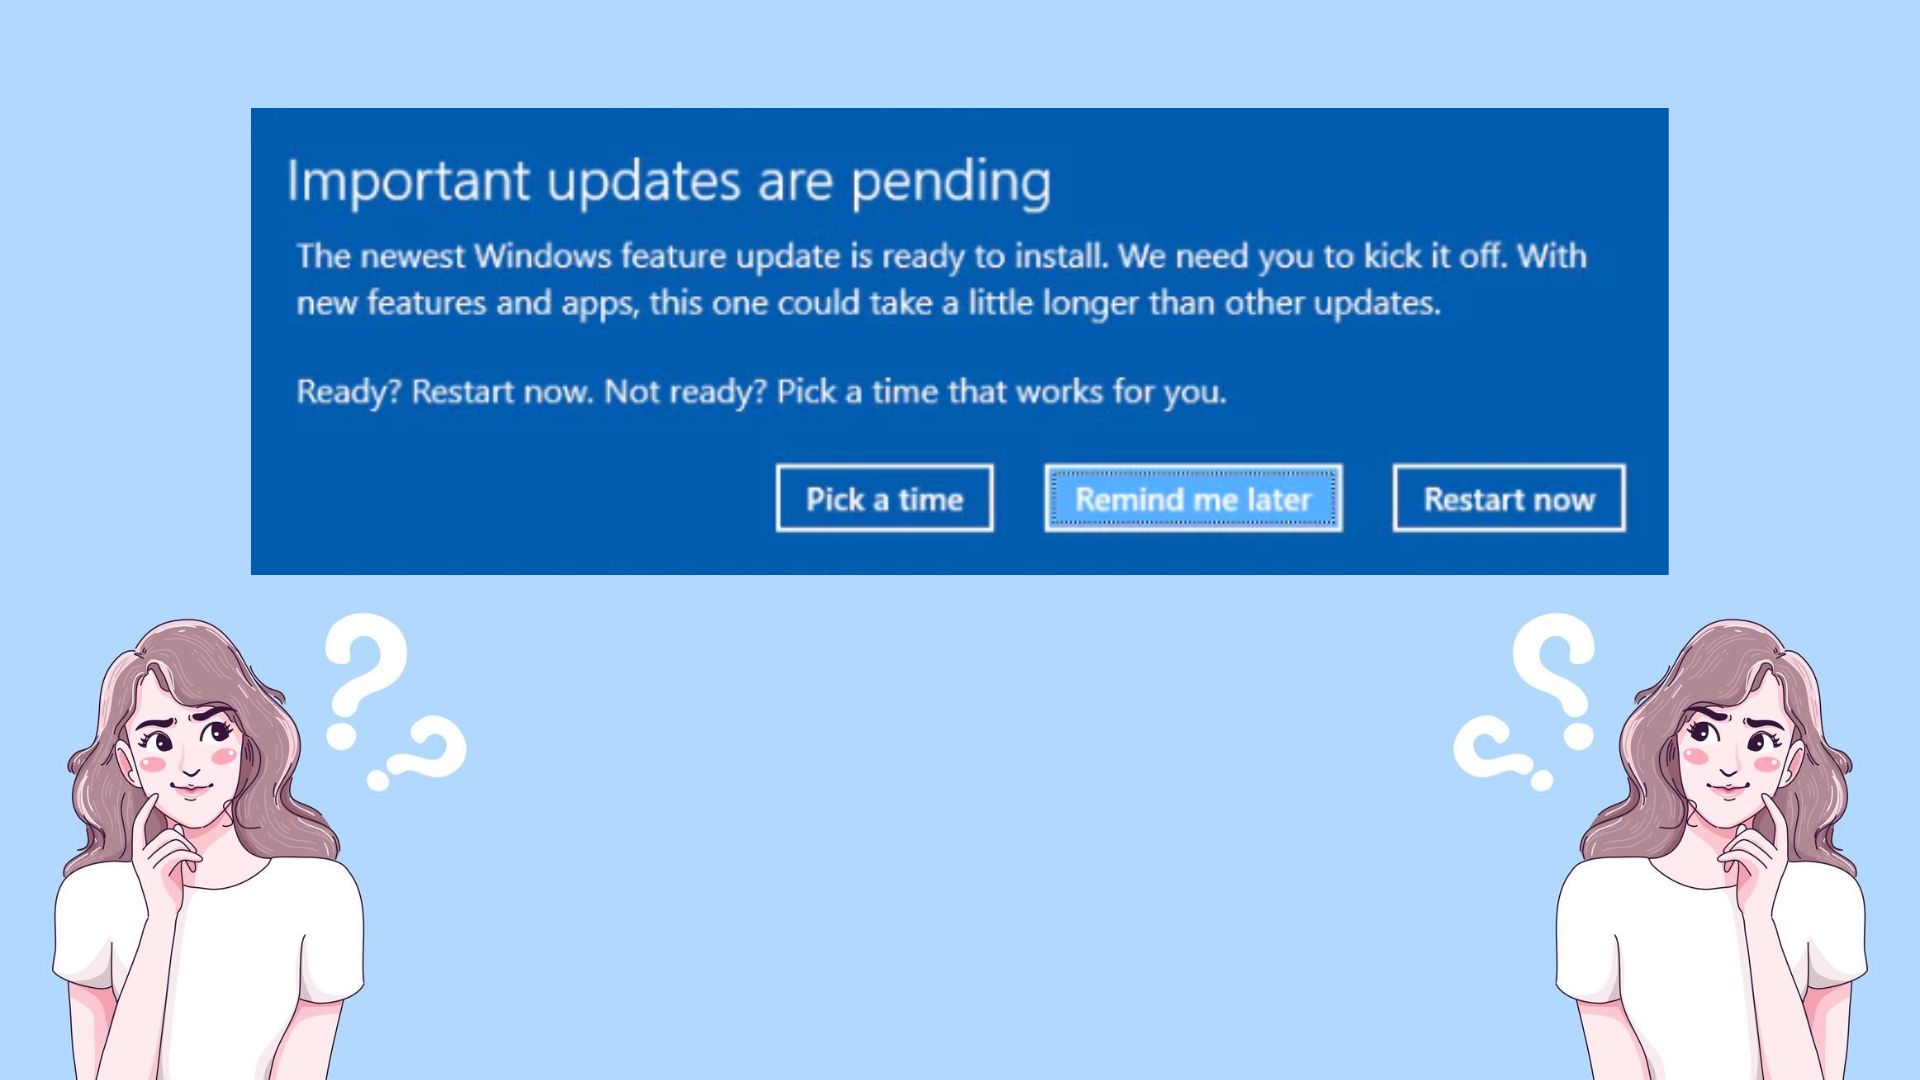
Windows will periodically search for updates in the background if you have automatic updates. This causes your computer to wake up from sleep mode and, if not configured properly, may slow down your system.
Is the MoUSO Core Worker Process malware?
No, it’s safe. The MoUSO Core Worker Process is a Microsoft-made program that comes with Windows when it’s installed on your device. This means the process cannot harm your system in any direct way, and you don’t need to worry about removing it.
However, because of the potential increased CPU or disk usage, it could have some harmful effects if you let the process run rampant for an extended period of time. Some users have reported that, in extreme cases, it may harm your SSD drive.
How to fix MoUSO Core Worker Process high disk/CPU usage
There are some things you can do if the MoUSO Core Worker Process is depleting your resources. Although the process itself cannot be removed, you can troubleshoot some issues that may cause it to excessively use your CPU, disk, or memory. This is especially important if you’re using productivity apps that require consistent system performance and low background resource usage.
Method 1: Install all pending updates
The first thing you should try is to install any pending and optional updates that are scheduled for your system.
- To get to the Start menu, click the Windows icon in the bottom left area of your screen. You can quickly go to Settings or press Windows + I.

- You can click on the Update & Security tile. This is where you can find most of your Windows Update settings, including the option to choose when to receive updates.

- Be careful to remain on the Windows Update tab by default. After selecting the Check for Updates option, let Windows search for any updates that are available. To view and install any available updates, select the View all optional updates link.

- Choose to Install the update when Windows detects one. Hold off as Windows downloads and installs the required updates.
Method 2: Run the Windows Update troubleshooter
A number of troubleshooting tools included with Windows 10 are intended to help users fix problems without consulting an IT expert. Even if they are not flawless, these can be useful in identifying issues with your system. If you are having issues with the MoUSO Core Worker Process, try using the Windows Update troubleshooter.
- Launch the taskbar search bar by clicking the magnifying glass icon. As an alternative, you can open it with the Windows + S keyboard shortcut.
- Open a search window and type Control Panel. Click on it to open the program when you see it in the results.

- Use the input field located at the top right to search for “troubleshoot,” and then select the heading pertaining to troubleshooting from the list of results.

- In the window on the left, select the View All link. This will direct you to a new page that will show you every troubleshooter that is available.

- Find the Windows Update troubleshooter by scrolling down. After giving it a single click, watch for the troubleshooter to open a new window.

- To start the Windows Update problem analysis, click Next. The troubleshooter will try to resolve any issues it finds after diagnosing them. A comprehensive report is displayed once the troubleshooting procedure is complete.

Method 3: Disable Delivery Optimization
- Combining the Windows and R keys on your keyboard will launch the Run utility. Without using quotation marks, type “regedit,” then press the OK button.

- Use the window’s left-hand navigation pane or the address bar to copy and paste the URL in order to access the following registry key: HKEY_LOCAL_MACHINE\SYSTEM\CurrentControlSet\Services\DoSvc

- Right-click on the Start value, and then choose Modify… from the context menu. A new window should open up.

- Change the Value data field from the current number to 4. Make sure that the Base is set to Hexadecimal, and then click the OK button.

- At this point, you need to reboot your computer before you can proceed with the next steps. Once your system has successfully restarted, continue with the steps below.
- You can open the Run utility by pressing the Windows and R keys together on your computer. Press and hold the same keys on your keyboard to launch the Run utility. Click OK after entering “services. msc” without the quote marks. This will cause the Services to open in another window.

- Navigate down the list of services until you find delivery optimization. Click it with a right-click and select Properties from the context menu. in the services list. Click it with a right-click and select Properties from the context menu.

- Make sure that the Startup type is set to Disabled. If it’s not, change it by opening the drop-down menu and selecting it.

- Click “OK.” You should be able to test if the MoUSO Core Worker Process is still causing high CPU, disk, or memory usage after making this adjustment.
Method 4. Restart the Windows Update service
If your Windows PC won’t go to sleep and you’ve already verified the reason as the MoUSO Core Worker Process, restarting the Windows Update service should solve the problem.
- You may launch the Run utility by pressing the Windows and R keys together on your computer. Click OK after entering “services. msc” without the quote marks. This will cause the Services to open in another window.

- After you find Windows Update in the list of services, scroll down. From the context menu, choose Refresh by performing a right-click on it.
Method 5. Reset Windows to default power settings
It’s possible that the MoUSO Core Worker Process is causing your computer to wake up from sleep mode on a regular basis. To resolve this, just restore your power settings to their default settings.
- To use the search interface, either click the magnifying glass icon in your taskbar or press the Windows + S keys on your keyboard.
- Type “PowerShell” into the search field, and when the application shows up in the list of results, choose it with a right-click. “Run as administrator” should be selected from the context menu. Click this link to learn how to modify a local account that you are using but does not have administrator privileges.

- If the User Account Control (UAC) prompts you to launch the app with administrator permissions, click Yes.
- To execute the command, type it in and press the Enter key on your keyboard: powercfg -restoredefaultschemes

- Wait for the command to finish its task. After that, restart your computer to see whether the fix works.
Final thoughts
It’s important to be aware of what the MoUSO Core Worker Process is and how it works to maintain a stable system. The article provided troubleshooting tips for when your computer’s CPU, memory, or disk usage spikes due to this process running in the background.
If you have any more queries or worries, do not be afraid to get in touch with us—our team of experts will be pleased to help! To remain current on all things tech while you wait, make sure to follow us on social media and come back for more information about troubleshooting.
For more fantastic stories like this one, subscribe to our blog! Additionally, for a plethora of knowledge on troubleshooting different situations, visit our Help Center.
One additional thing
Subscribe to our email to receive early access to our blog content, promotions, and discount offers. I appreciate you taking the time to read! We are hoping to see you shortly.