Resolving High CPU Usage: Fixing CompatTelRunner.exe Process on Windows 10
It might be time to investigate if CompatTelRunner.exe consumes significant CPU power on your Windows 10 computer. The CompatTelRunner.exe file is utilized during Windows updates. Additionally, when Windows 10 runs programs created for earlier versions of Windows, this process manages compatibility diagnostics.
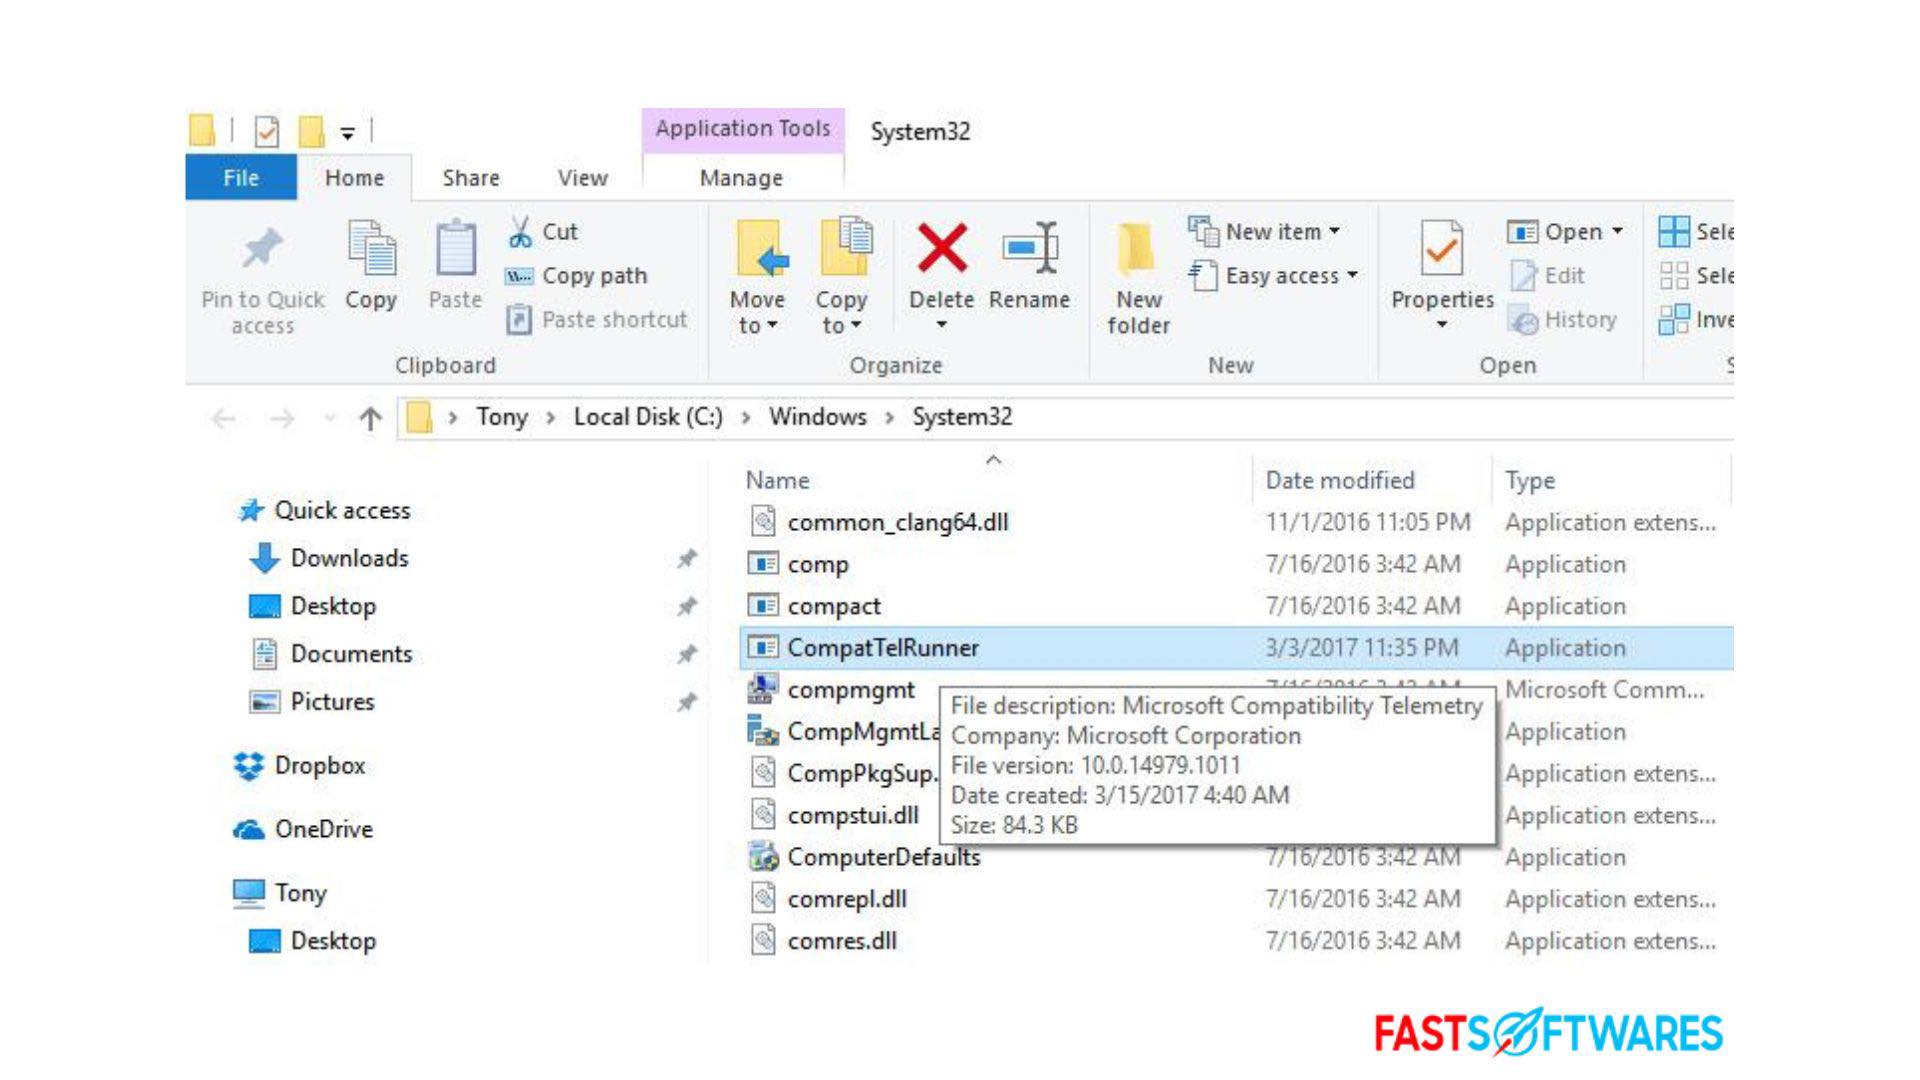
Your machine may have significant issues if this process uses a lot of CPU power. For instance, it may cause your gadget to operate slowly and sluggishly. Rarely can it exhaust all of your resources and bring about a system crash. You can lose your work or crucial files as a result of this.
In this post, we’ll go over how to resolve CompatTelRunner’s excessive CPU utilization in Windows 10 so you can stop worrying!
Why does CompatTelRunner.exe take a lot of CPU power?
Your Windows PC may use a lot of CPU power for several reasons when CompatTelRunner.exe runs. Typically, there is a problem with the Windows Telemetry service. Other such issues include:
- Faulty system files
- Services with incorrect configuration
- A problem in a recent Windows 10 update
- antiquated operating system
- It is set to use Microsoft Compatibility Appraiser.
- Infection with malware
Fortunately, you can quickly resolve the high CPU utilization issue using one of the troubleshooting techniques below! You’ll soon be able to get your smartphone operating normally again.
Fix: CompatTelRunner excessive CPU consumption
Here are some fixes for CompatTelRunner.exe excessive CPU consumption that you can try to get your machine running again!
Method 1: Repair damaged system files
Corrupt system files most often cause this error. The System File Checker, or SFC scan, as it is commonly known, is a tool included in Windows 10 that makes it simple to recover all corrupted files. This utility looks through your system files, notes any corrupted or missing ones, and replaces them with the original, unmodified files.
By doing the SFC scan, you can cure your device’s high CPU consumption of the CompatTelRunner process by restoring all potentially corrupt or missing system files.
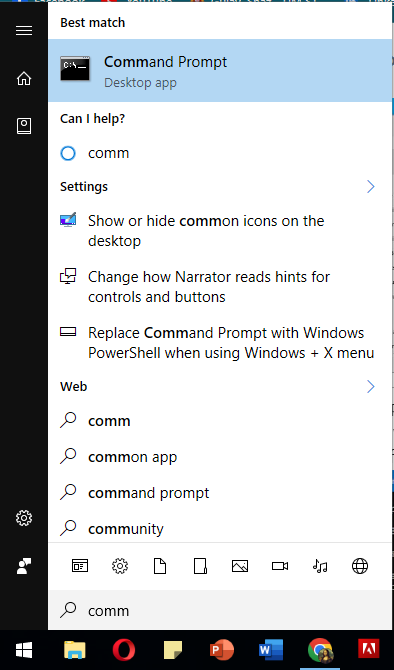
- Click the magnifying glass icon to open the taskbar search bar. Alternatively, you can use the Windows + S keyboard shortcut to open it.
- Open a search window and type Command Prompt. Select Run as Administrator with a right-click on it when you see it in the results. Click here first if you’re using a local account without administrator permissions.

- If the User Account Control (UAC) prompts you to activate the program with administrator access, click Yes.
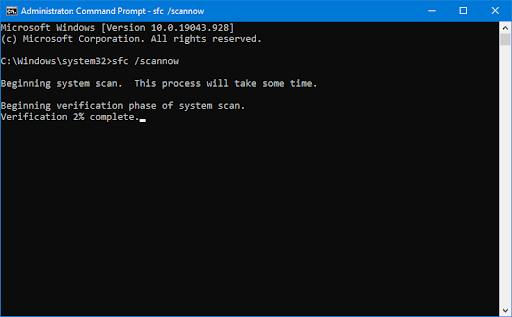
- To execute the command, type it in and hit Enter: sfc/scannow.

- Await the completion of the computer scan by the System File Checker. The application will repair all associated problems and restore system files if a disparity arises.
Method 2: Get rid of CompatTelRunner.exe from your system
You can resolve this issue by assuming ownership of the CompatTelRunner.exe file and deleting it, as this is directly tied to it.
- Using the keyboard, press the Windows + R keys. The Run utility will launch as a result. Put C:\Windows\System32 in there. Then press the OK button. As a result, a File Explorer window will open in the appropriate location.
- Once the CompatTelRunner.exe file has been located, right-click it to open a context menu, then choose Properties from the list of options.
- There will be a pop-up window. Select the Security tab and click the Advanced button to access additional permissions and settings.
- Select TrustedInstaller as the current owner of the CompatTelRunner.exe file by clicking the Change link next to their name. To achieve this, you will require administrator permissions.
- Enter the object name to choose a field, type Administrators, and press the Check Names button. The system needs to enter the entire name automatically. Once finished, press the OK button.
- Next, pick the administrators’ group, then press the Edit button. Something fresh ought to pop up.
- As in Step 5, click Select a Principal and select the Administrators group. To give administrator accounts full access to the folder and its contents, tick the box next to the Full Control option.
- Click the OK button twice to save your modifications and close the Advanced Properties window. At this point, the CompatTelRunner.exe should allow you to right-click on it and select Delete from the context menu.
- Check whether your CPU utilization and performance have improved after restarting your computer.
Method 3: In the Task Scheduler, disable CompatTelRunner.exe.
Disabling the Microsoft Compatibility Appraiser in your task scheduler is another approach to solving this issue. You can inform Windows 10 that you don’t want this service operating by doing this, which will prevent it from using any system resources.
- Using the keyboard, press the Windows + R keys. The Run utility will launch as a result. Type “taskschd.msc” without quotation marks into the keyboard and hit Enter.
- Go to Library > Microsoft > Windows > Application Experience using the window on the left.
- Select the Disable option from the context menu by right-clicking on any of the Microsoft Compatibility Appraiser tasks in the middle area.
- Try restarting your computer to see if that resolves the CompatTelRunner.exe process, consuming excessive CPU power.
Method 4: Modify something within the Registry
For the most extensive customization of your system, the Registry is your one-stop shop. You may even set up new rules for your computer to abide by! You can use it to personalize Windows, including all the apps and services! In this guide, we’ll be doing just that.
You can use the Registry Editor to make a new key to turn off the Telemetry service associated with the CompatTelRunner process.
- Using the keyboard, press the Windows + R keys. The Run utility will launch as a result. Without quotation marks, type “regedit” onto the keyboard and hit Enter. The Registry Editor application will open as a result.
- Use the address bar to copy and paste the file’s location, or use the Navigation pane to locate the following Registry key: DataCollection is located at
HKEY_LOCAL_MACHINE\SOFTWARE\Policies\Microsoft\Windows
- To access the context menu, right-click any blank area in the right pane and choose New > DWORD (32-bit) Value.
- name it “Allow Telemetry” to create the new value and hit Enter. This may require you to have an administrator account to complete!
- To change the value you just created to 0, double-click on it. After selecting OK, restart your computer.
Method 5: Use Group Policy to disable Microsoft Compatibility Telemetry
You can also use the Group Policy to turn off the annoying Telemetry service. Here’s how to resolve the CompatTelRunner.exe process’s excessive CPU use in Windows when utilizing the Group Policy interface.
- In your search box, type “group policy,” then select “Edit group policy” from the results list.
- Open the Group Policy window and navigate to the following location: Data collection and preview builds are under Computer Configuration > Administrative Templates > Windows Components.
- Double-click the entry marked “Allow Telemetry.”
- After choosing the Disable option, click OK. To ensure the adjustment takes effect, restart your computer and then monitor your CPU utilization.
Method 6: Modify the diagnostics and feedback settings
These issues frequently call for intricate troubleshooting procedures that may be unclear to certain people, particularly novices. If troubleshooting is new to you, try this option first; you can get your gadget back up and running again with a minor setting adjustment.
- Click the magnifying glass icon to open the taskbar search bar. Alternatively, you can use the Windows + S keyboard shortcut to open it. Enter Feedback and Diagnostics, then click the corresponding results to access the system settings.
- Verify that the Diagnostic data section’s “Basic: Send only info about your device, its settings and capabilities, and whether it is performing properly.” option is selected rather than any other.
- After making this adjustment, restart your computer to see if the excessive CPU utilization issue has been rectified.
Method 7: Turn off pertinent services
If none of the preceding ways are effective, you can try one more thing. Disabling any services related to CompatTelRunner may help resolve issues with excessive CPU utilization when those specific processes are operating on your system.
- Using the keyboard, press the Windows + R keys. The Run utility will launch as a result. Type “services.msc” into the keyboard without quotation marks and hit Enter. By doing this, the Services application will open.
- From the context menu, choose Properties after right-clicking on the Connected User Experiences and Telemetry service. There ought to be a new window opening.
- Make sure the Startup type is set to Disabled on the General tab. Doing this will prevent this service from launching the next time your computer boots up.
- After clicking OK, restart your computer. Check your CPU utilization the next time you load up to determine if the CompatTelRunner.exe program still uses many resources.
Concluding remarks
Our knowledgeable staff is always here to address any queries or worries! Reach out to us via phone, live chat, or email any day of the week.
Sign up for our email to receive early access to our blog content, promotions, and discount offers! We provide the best pricing on all of our products at FastSoftwares. Do you want to read more of our articles? Visit our blog page for more frequently updated tech articles!